Build Guide
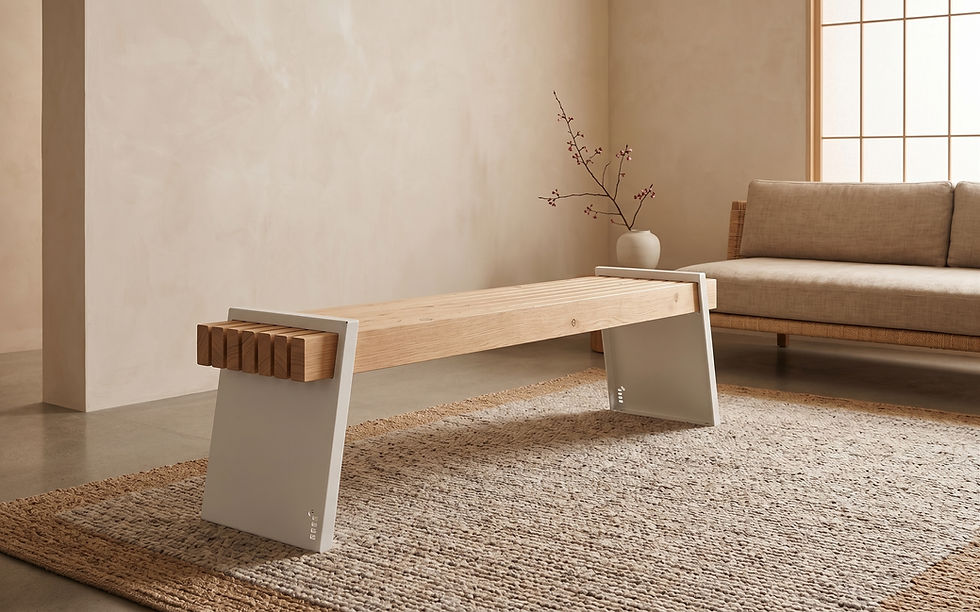
Seven boards.
Two steel ends.
One very good bench.
Everything you need to build, finish, and care.

01 Before you start
In the box
☐ 2 steel end panels — powder coated, or raw if you ordered it that way
What you need to buy
☐ Seven 2×4s. The bench uses seven boards. Tall Order recommends one optional spare for first-time builders.
☐ Sandpaper, 120 and 180 grit — one sheet of each is plenty
☐ Wood finish, if desired, or nothing at all — chapter 05 walks through the four options
☐ 14 wood screws, 1¼" long — ask your lumber supplier to recommend the appropriate screw type and thickness for your chosen wood
Tools
☐ A circular saw, mitre saw, or a hand saw and square
☐ A tape measure
☐ A screwdriver
That is the list!
If you own a mitre saw this is a twenty-minute job; if you are cutting by hand, give yourself an hour and a coffee.
No saw? Most lumber yards and big-box stores will cut boards to length for you, often free for the first few cuts. Bring the number written down.

02 Cut your lumber
Seven boards make the bench.
☐ Decide your length first. Anything up to 10 ft works without a center support.
A 4 ft bench seats two, 5 ft seats three, 6 ft is a proper hallway bench.
Tip: Set a stop block. Clamp a scrap of wood where the end of the board lands, then cut all seven against it. Don't measure seven times — measure once and let the block do the rest.
☐ Stack and check. Line all seven boards up on one end. If one is tall, trim it.
The ends stay visible on the finished bench — they stick out past the steel. A square cut is not fussiness here, it is the detail people will actually see.
03 Knock the edges off
The edges of your lumber will be raw and sharp. Skip this step and the first person who slides off the seat in shorts will let you know.
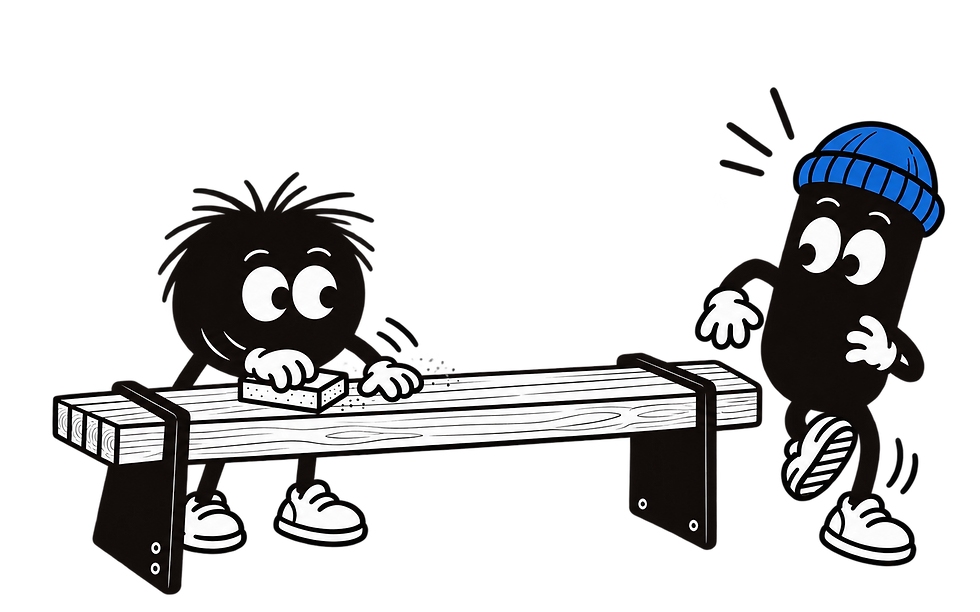
Start with 120-grit sandpaper. Sand the sharp edges, the flat sides, and the freshly cut ends. Then go over everything with 180-grit for a smoother finish.
You're not trying to make it perfect. You're just taking off the sharp edges and smoothing the surface enough for your finish to go on evenly.
Do this before assembly. Once the boards are in the steel ends, some areas will be hard to reach.
04 Put it together
No glue. No jigs. No clamps. The boards slide into the steel ends and the set screws hold everything in place.
-
Lay both steel ends flat on their backs. Place them roughly your bench length apart, facing outward. Drop the seven boards into place.
-
Start with the two outside boards. They'll help set the spacing for the four boards in between.
-
Pay attention to which way the boards curve. You want them to bow slightly upward, not dip down in the middle.
-
Stand the bench up. This is easier with two people, but doable with one.
-
Tighten the set screws with your screwdriver. Pre-drilling is recommended.Tighten until each board is held securely in place — firm, but don't crank on them. Work your way around the bench instead of fully tightening one end first.
-
Sit on it. Seriously. Then go around once more and check each screw. Wood can settle slightly under weight, so give anything that's loosened another small turn.
05 Finish the wood
Four honest options. None of them are wrong, and one of them is doing nothing.
OptionS
Raw (Nothing)
LOOKS LIKE
Pale and natural. It will change with age and use.
EFFORT
None
GOOD FOR
If you don't mind marks, spills and life showing.
Fixing it later
Sand it and start over whenever you like.
Oil
Brings out the grain. Warm, natural, slightly richer.
Usually two coats.
Everyday indoor use.
Easy — clean the spot and apply more oil.
Wax
Close to raw, with a soft sheen.
One coat, then buff.
Light use and dry spaces.
Easy — apply more wax.
Laquer or Poly
A protective finish over the wood. Matte, satin or gloss.
Multiple coats + drying time.
Heavy use, kids, entryways and spills.
More work — damaged areas may need sanding and refinishing.

Can't decide?
Oil is a good place to start.
06 Raw steel care
Ordered powder-coated steel? You're done. Skip this chapter.
Raw steel is for people who want to choose the finish themselves — keep it raw, let it rust, or paint it.
Option 1 - KEEP IT RAW
Want a weathered, rusty patina? Clean and degrease the steel, then allow it to get wet and dry naturally.
Brush away loose rust and apply a sealer designed for rusted metal. Keep in mind that corrosion may continue over time, even after sealing.
One important thing: Rust runoff can stain concrete and stone. Weather your steel over a protected surface, gravel, or another area where staining won't be a problem.
Option 2 - LET IT RUST
Want the steel to develop a rusty patina? Clean and degrease, then let the steel get wet and dry naturally until you like the color.
Once you're happy with it, brush away any loose rust and seal the surface with a product made for rusted metal.
One important thing: Rust runoff can stain concrete and stone. Let the steel weather over gravel, decomposed granite, or soil — not your new patio.
Option 3 - PAINT IT
Want a color we don't offer? Paint it yourself.
Clean and degrease the steel, apply a primer designed for bare metal, then use a compatible metal paint. Follow the manufacturer's instructions for preparation, application, and drying.
Factory powder coating generally provides a tougher finish, so painted steel may need occasional touch-ups.
YOU BUILT A BENCH.