Build Guide
Seven boards.
Two steel ends.
One very good bench.
Everything you need to build, finish, and care.

01 Before you start
In the box
☐ 2 steel end panels — in your selected finish
What you need to buy
☐ Seven standard 2×4s — surfaced on all four sides (actual dimensions: 1½" × 3½"). Choose straight boards with no cracks, splits, or large knots. Maximum length: 8 ft.
☐ Sandpaper, 120 and 180 grit — one sheet of each is plenty
☐ Wood finish, if desired, or nothing at all — Chapter 05 walks through your options
☐ 14 wood screws:
-
Softwood: 2" coarse-thread screws
-
Hardwood: 1½" fine-thread screws
☐ Optional: 1/4-20 threaded leveling feet, — sourced by you.
Tools
☐ A circular saw, mitre saw, or a hand saw and square
☐ A tape measure
☐ A screwdriver
That is the list!
If you own a mitre saw this is a twenty-minute job; if you are cutting by hand, give yourself an hour and a coffee.
No saw? Most lumber yards and big-box stores offer cutting services. Ask them to cut all seven boards to the same length, up to 8 ft.

02 Cut your lumber
Seven boards make the bench.
☐ Decide your length first. Your bench can be any length up to 8 ft. Longer boards are not supported.
A 4 ft bench seats two, 5 ft seats three, 6 ft is a proper hallway bench.
Tip: Set a stop block. Clamp a scrap of wood where the end of the board lands, then cut all seven against it. Don't measure seven times — measure once and let the block do the rest.
☐ Stack and check. Line all seven boards up on one end. If any are longer than the others, trim them to match.
The ends of your boards will be visible on the finished bench — they extend past the steel. Take your time with these cuts. They're a detail people will notice.
03 Knock the edges off
Freshly cut lumber can have sharp edges and splinters. Skip this step and the first person who slides off the seat in shorts will let you know.
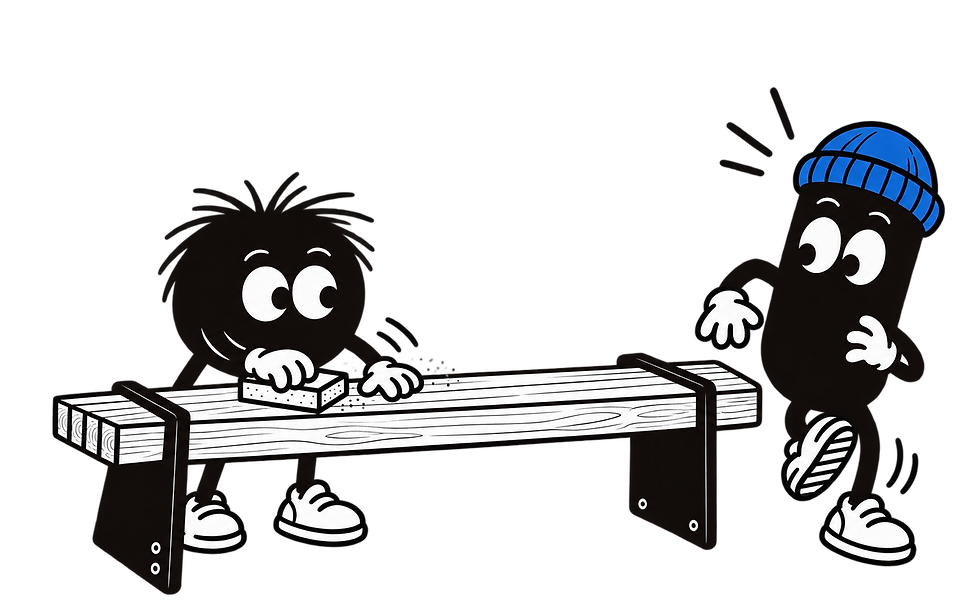
Start with 120-grit sandpaper. Smooth the sharp edges, flat surfaces, and freshly cut ends. Follow with 180-grit for a smoother finish.
You're not trying to make it perfect. You're removing sharp edges and preparing the wood for finishing.
Do this before assembly. Once the boards are in the steel ends, some areas will be hard to reach.
04 Finish the wood
Finish before you assemble. It's easier to reach every surface while the boards are separate. Choose your finish, follow the manufacturer's instructions, and allow it to dry or cure as directed before assembly.
Four honest options. None of them are wrong, and one of them is doing nothing.
OptionS
LOOKS LIKE
EFFORT
GOOD FOR
Fixing it later
Raw (Nothing)
Pale and natural. It will change with age and use.
None
Dry indoor spaces, if you don't mind marks, spills, and natural aging.
Sand it and start over whenever you like.
Oil
Brings out the grain. Warm, natural, slightly richer.
Apply as directed; often requires multiple coats.
Everyday indoor use.
Often easy to refresh — clean and reapply as directed.
Wax
Close to raw, with a soft sheen.
Apply and buff as directed.
Light indoor use in dry spaces.
Easy — apply more wax.
Clear Coat (Lacquer or Poly)
A protective finish over the wood. Matte, satin or gloss.
Multiple coats + drying time.
Everyday use, spills, and higher-traffic spaces. Choose an exterior-rated product for outdoor use.
More work — damaged areas may need sanding and refinishing.

Can't decide?
For indoor use, oil is a great place to start. For outdoor use, choose a finish made for the elements.
Taking your bench outdoors?
Cedar is a great choice for outdoor use. Pine works too, but should be sealed for protection. Reapply the finish as recommended by the manufacturer to keep your boards looking their best.
05 Put it together
No glue. No jigs. No clamps. The boards slide into the steel ends, and the screws hold everything in place.
-
Lay both steel ends flat on their backs. Place them roughly your bench length apart, facing outward. Slide the seven boards into place.
-
Start with the two outside boards. They'll help set the spacing for the five boards in between.
-
Check the curve of each board. Position them so they bow slightly upward, not downward in the middle.
-
Position the steel ends. Set each end approximately 6" from the ends of the boards, making sure the boards extend at least 1½" past the internal flanges.
-
Stand the bench up. This is easier with two people, but doable with one.
-
Secure the boards. Drive one screw through the flange into each board at both steel ends — 14 screws total. Pilot holes are recommended to prevent splitting. For hardwood, always drill pilot holes first. Tighten until each board is held firmly in place, but don't overtighten.
-
Check every screw. Then sit on it. Seriously. After initial use, check the screws again and gently tighten any that have loosened.
Optional: Leveling feet
Want to level things out? The steel ends accept 1/4-20 threaded leveling feet, sourced by you.
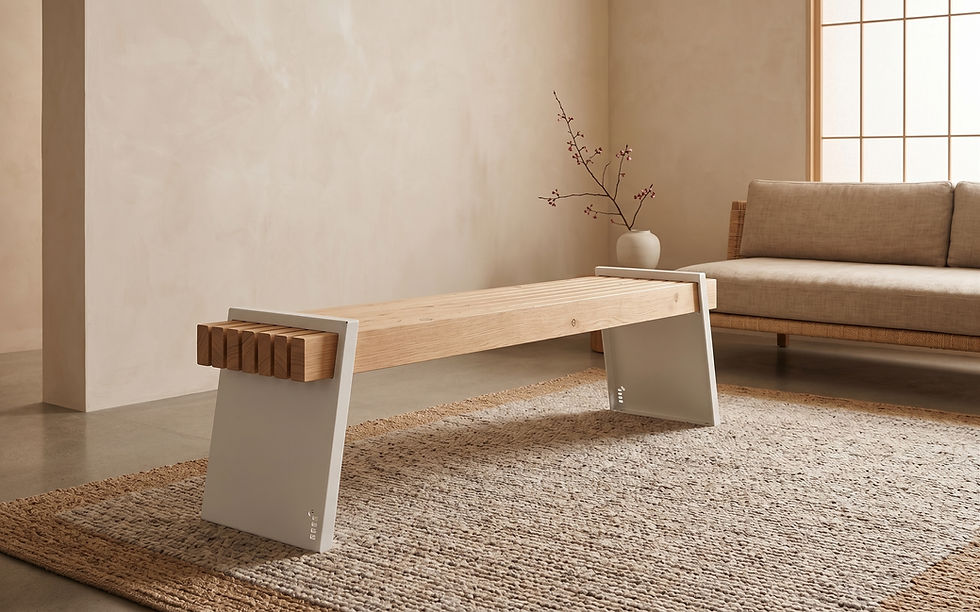
YOU BUILT A BENCH.